Loving Tan Deluxe Bronzing Mousse Review + Tips!
10:29 AM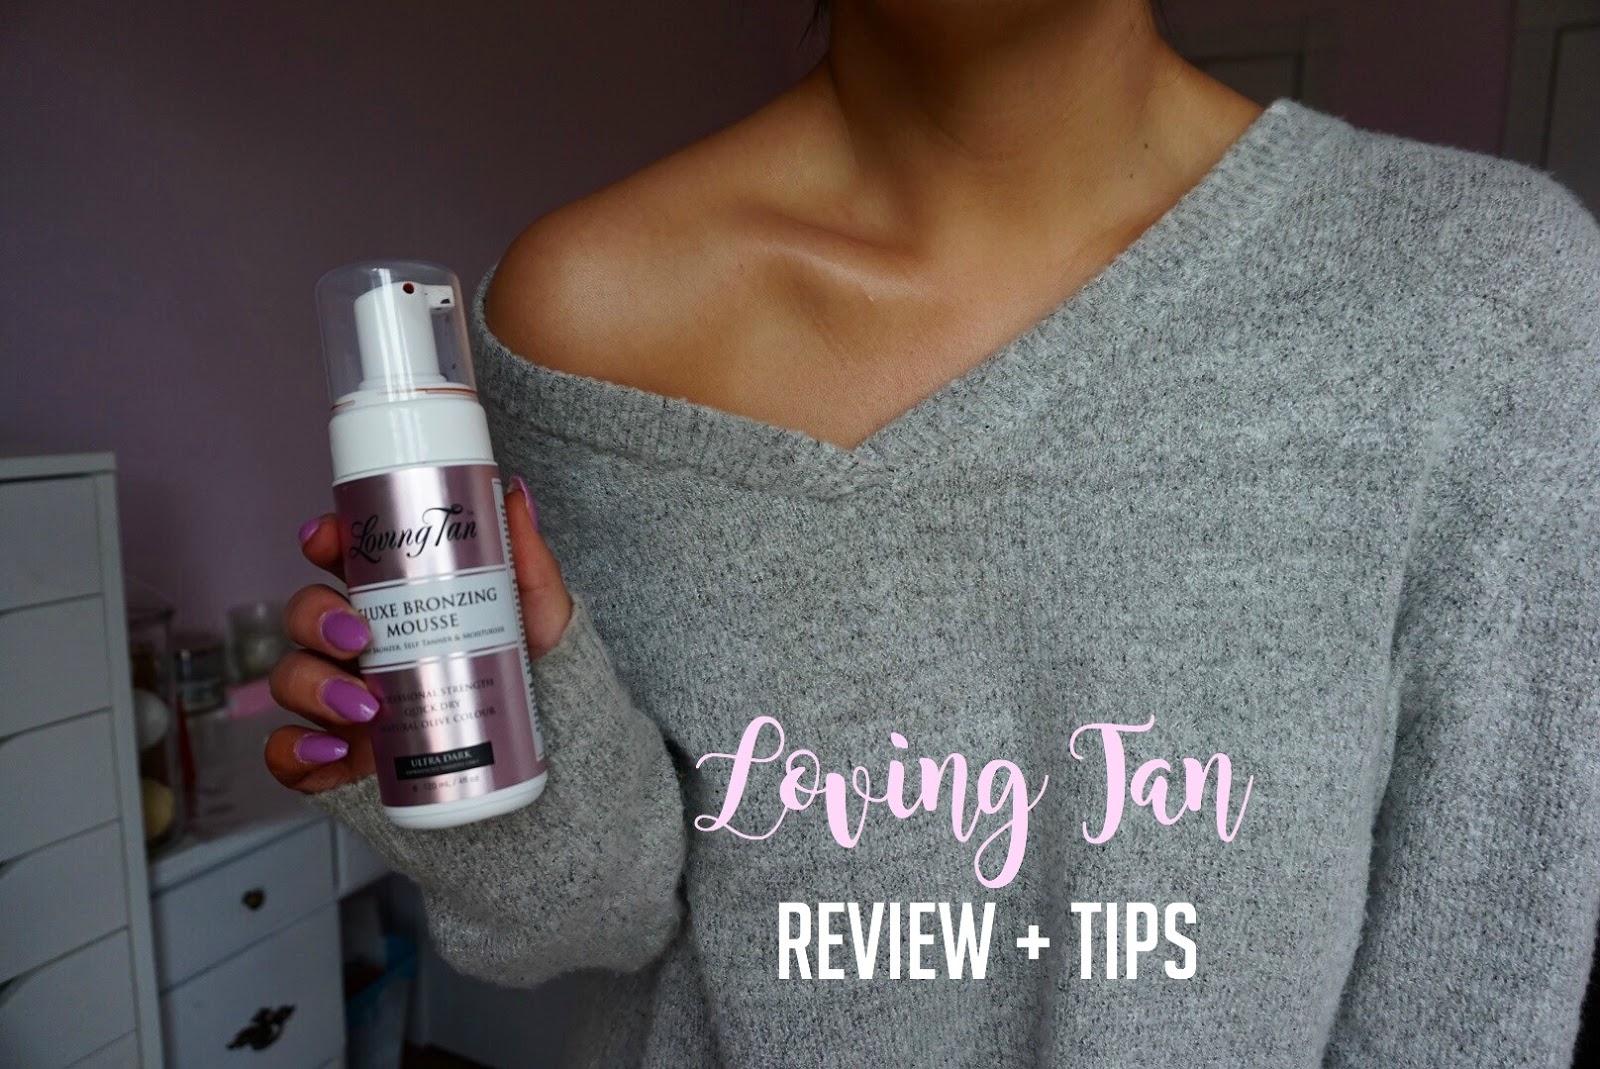
With being pretty active on Instagram, I see multiple posts each day about self-tanners, and Loving Tan is one that stood out for me. First of all, the packaging is what reeled me in (pink for the win!) and I also saw many well-trusted bloggers raving about it. I have always been into tanning-- which yes I know is terrible-- but it's not the worst addiction someone can have, right? I worked at a tanning salon for a little and that is where I got my first spray tan, and where I really learned all about DHA and self-tanners and all of that jazz. I LOVED the look of a spray tan, and I loved that it is way better for your health and skin than laying in a tanning bed. Once I stopped working at the tanning salon, I used the tanning beds that were at my gym. After about two months, I decided to start getting into self-tanning and that's when I bought Loving Tan. I picked mine up here for $40 (and they have free shipping!)
I purchased the Ultra Dark mousse. Loving Tan also has a two hour express mousse, however that doesn't come in the Ultra Dark shade. For the application mitt, I heard a couple different reviews saying how the Loving Tan mitt wasn't the best, so I went to Sephora and bought a Vita Liberata mitt which you can get here. A big fear I hear everyone talk about with tanning and self-tanners is how they don't want to come out orange. Although Oompa Loompa is never cute on anyone, I figured if it comes out orange I can always exfoliate to take the tan off and it's like it never happened. Loving Tan claims to give a "Natural Olive Colour."
Before Tanning
Since I bought the regular mousse, the tan takes between 6-8 hours to develop, so I waited until I was home for the night to start tanning. I showered and shaved and exfoliated before I applied the tan so it would apply more even. Once I was out of the shower, I applied a lotion to my hands, knees, feet and elbows very generously. Tan is more pigmented with dry skin, so you want your hands especially, and all of the other places on your body that tend to be dryer to have a barrier over top of them for a more even tan.
Applying The Tan
When applying the tanner, it's best to work in sections. Make sure you fully blend the tan in by applying using circular motions. I also used a foundation brush to help blend in specific areas such as my neck and hands. You can find the one I used here. Once I finish a section, I let it dry for about a minute before moving on to the next. The first time I self-tanned I didn't apply the tanner to my face, just in case my body had a reaction to the formula. The second time I tanned, I applied it to my face using the foundation brush after I applied a light moisturizer. I washed the tan off my face after about two hours before I went to bed just so I didn't have an unnaturally dark face! I slept with the rest of the tan on overnight.
The Next Morning
When I woke up, I jumped in the shower and washed off the excess tan with my Dove moisturizing body wash and my hands. You want to make sure you don't exfoliate your skin, otherwise you'll remove the tan! I also then moisturized my whole body once I got out. The tan applied very evenly, and I was very impressed with how it looked at my neck and chest area (which is what I was most nervous about). The only spot that I think came out a little uneven was my hands, which is always the most challenging to get an even tan. The second time I applied the tanner I spent a little more time with the foundation brush blending on my hands and the result was a lot better!
Removing The Tan
After about a week, the tan was fading and I was ready to re-apply it. To remove it, I started off using their Tan Removing glove which came free, however I didn't really like that and I just used my regular exfoliator which is currently this one.
Final Thoughts
I would definitely recommend this self-tanner! I am very happy with the results, and the color it gives. It is definitely a more natural color and I never once got told I looked orange (win!). For a paler person, or one who is less comfortable starting out, I would suggest the Medium or Dark shades that Loving Tan offers, rather than jumping into the Ultra Dark right away.
Tips
1. Exfoliate before you shave to get a smoother surface.
2. If you experience sensitivity when shaving, shave the day before or earlier in the day and give time for your skin to recover.
3. I found body butters to work better than "Intense Moisturizing Lotions" when it comes to applying tan evenly on my hands and feet.
4. If it is one of your first times, apply the tanner in a spot that won't be seen to get used to the way it applies and blending it in. I chose my legs since it's winter and I'm not wearing shorts right now.
5. Moisturize everyday to keep the tan lasting longer.
6. Use a foundation or a buffing brush to better blend the tan into your skin, specifically on your face, neck, hands and feet.
Let me know if you tried Loving Tan before and your thoughts on it, or if you have a different brand I should try out!
xo, Cassandra


1 comments
Its RTP stands at ninety six.12%, and it comes with low-medium volatility levels. Bingo and free video games with 30, seventy five, 80 and ninety balls couldn't be lacking from our website. Check out our dedicated bingo rooms from Pragmatic Play and revel in beautiful rewards day by day. In short, the rules allowing "stock", "renchan", and tenjō transformed the pachisuro from a low-stakes bet365 form of entertainment just a few years back to hardcore playing.
ReplyDelete